
![]() Processing - quick and easy
Processing - quick and easy
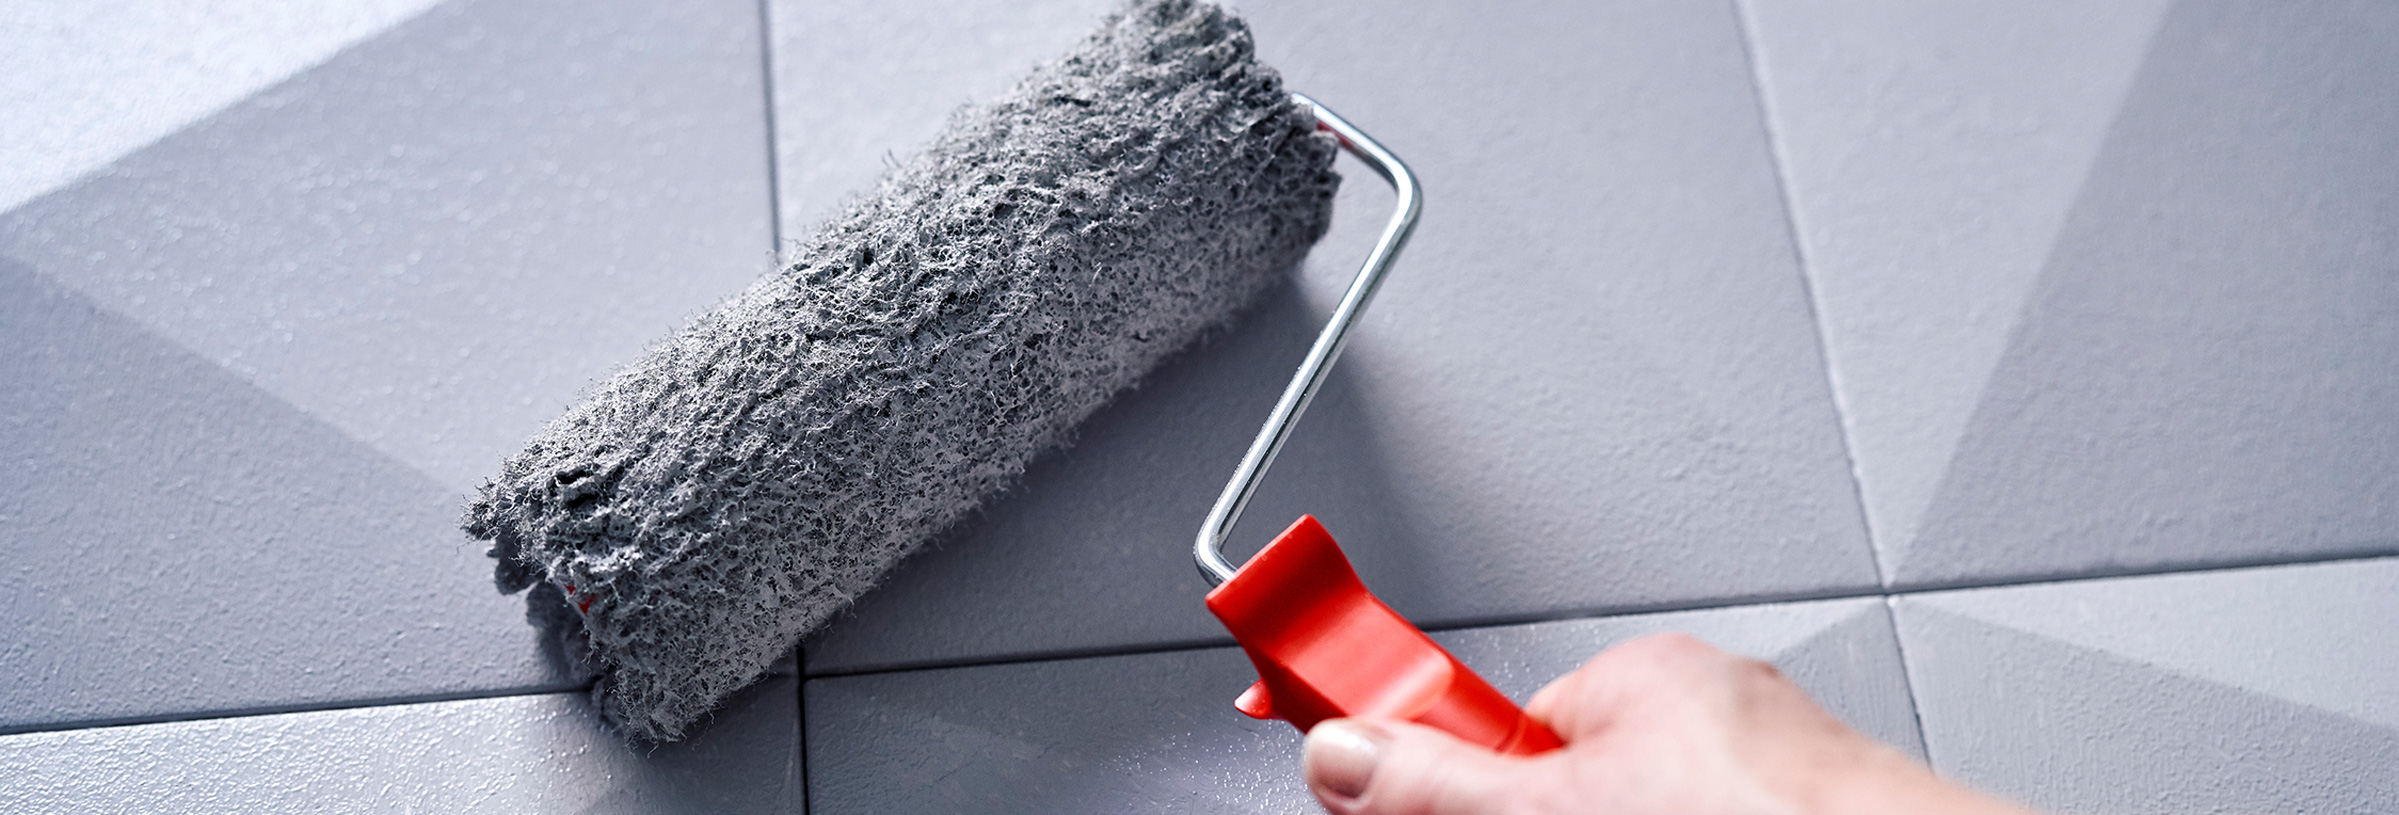
DECOSA® products can be processed easily and quickly. There is no need for any heavy tools, but only a fine saw or sharp knife, a tape measure and a glue squeezer.
Thus, processing can be done quite incidentally, with almost no dirt accumulation during inside remodeling.
Due to the various design options, for example with solvent-free emulsion paints, varnishes or other creative techniques, there is an unlimited amount of creative possibilities.
Try it!

| COVINGS
The base has to be clean, dry, solid, smooth and able to take a weight. Cut corner profiles using a mitre box and a fine saw. Apply solvent-free DECOSA® universal glue thinly on the profile backside. Press profile carefully against ceiling and wall. Remove potential glue rests with a wet sponge immediately. Close open joints with glue or filler. For painting use solvent-free dispersion colour.
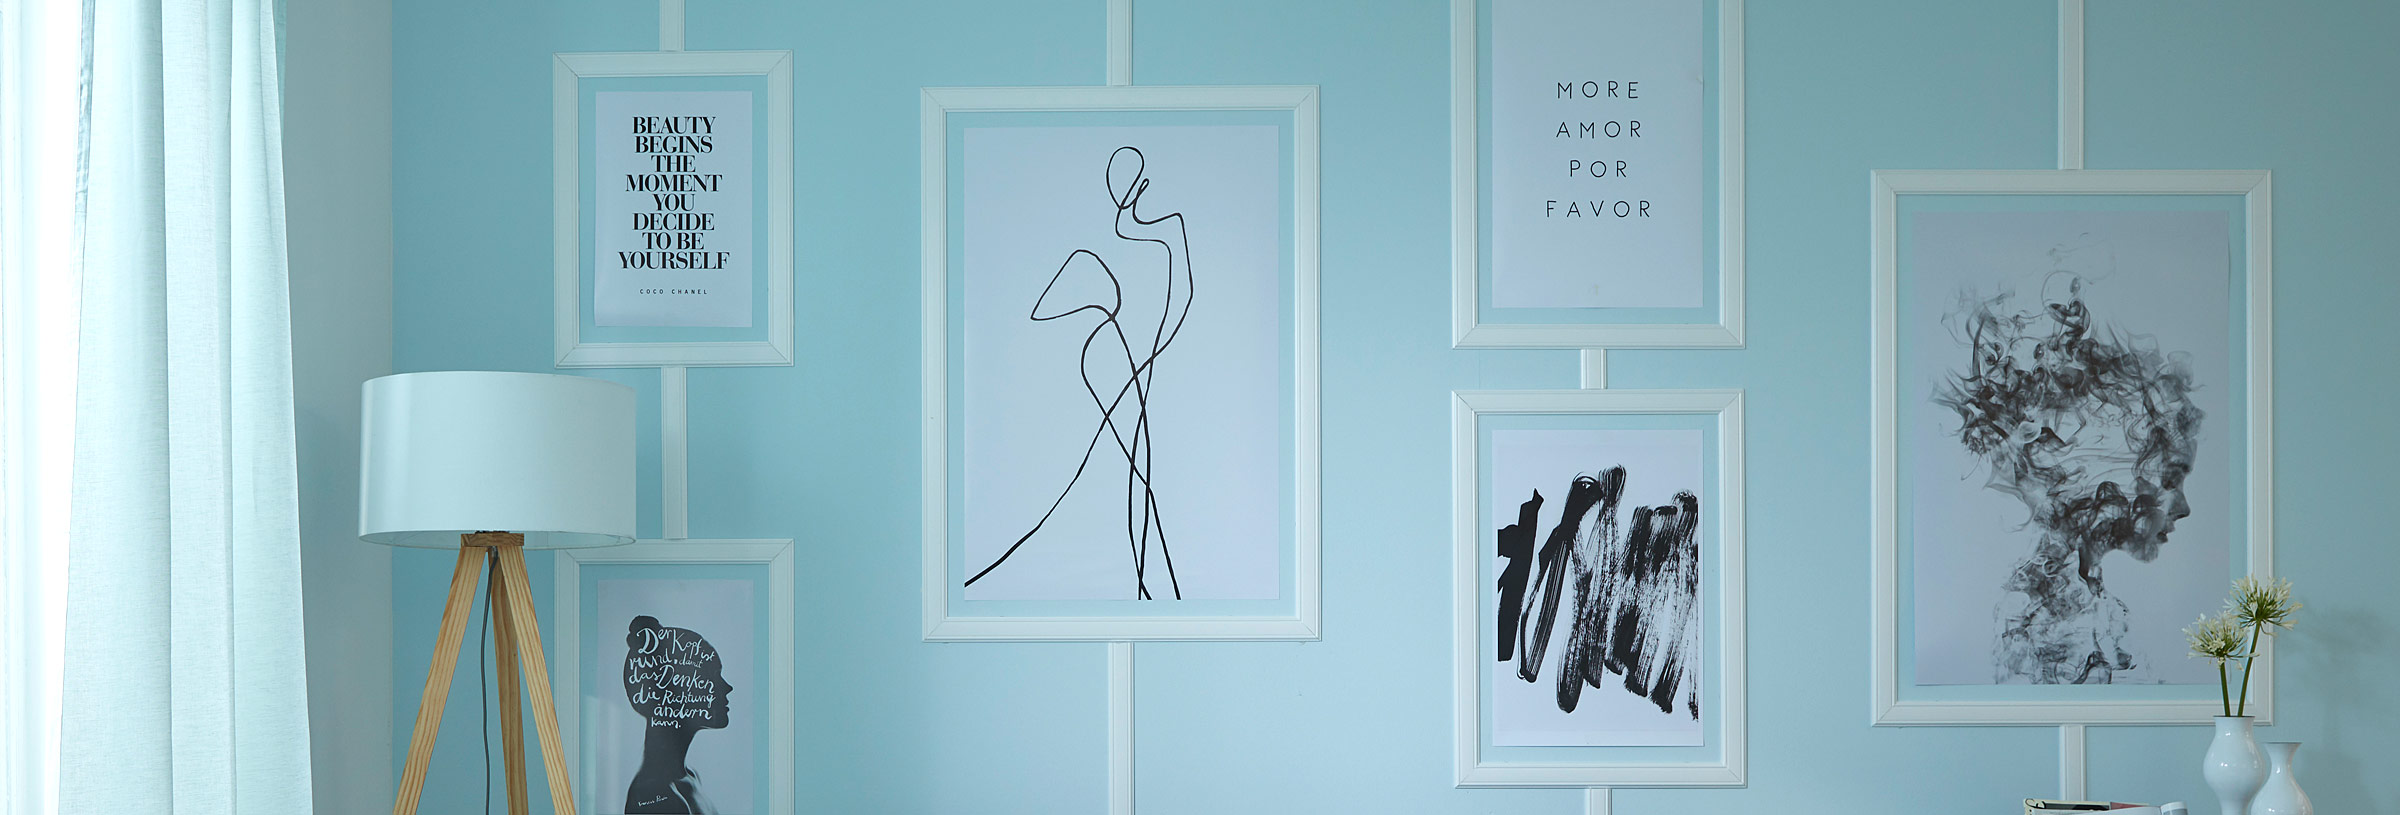
| WALL PROFILES
The base has to be clean, dry, solid, smooth and able to take a weight. Cut corner profiles using a mitre box and a fine saw. Apply solvent-free DECOSA® universal glue thinly on the profile backside. Press profile carefully against ceiling and wall. Remove potential glue rests with a wet sponge immediately. Close open joints with glue or filler. For painting use any dispersion colour.
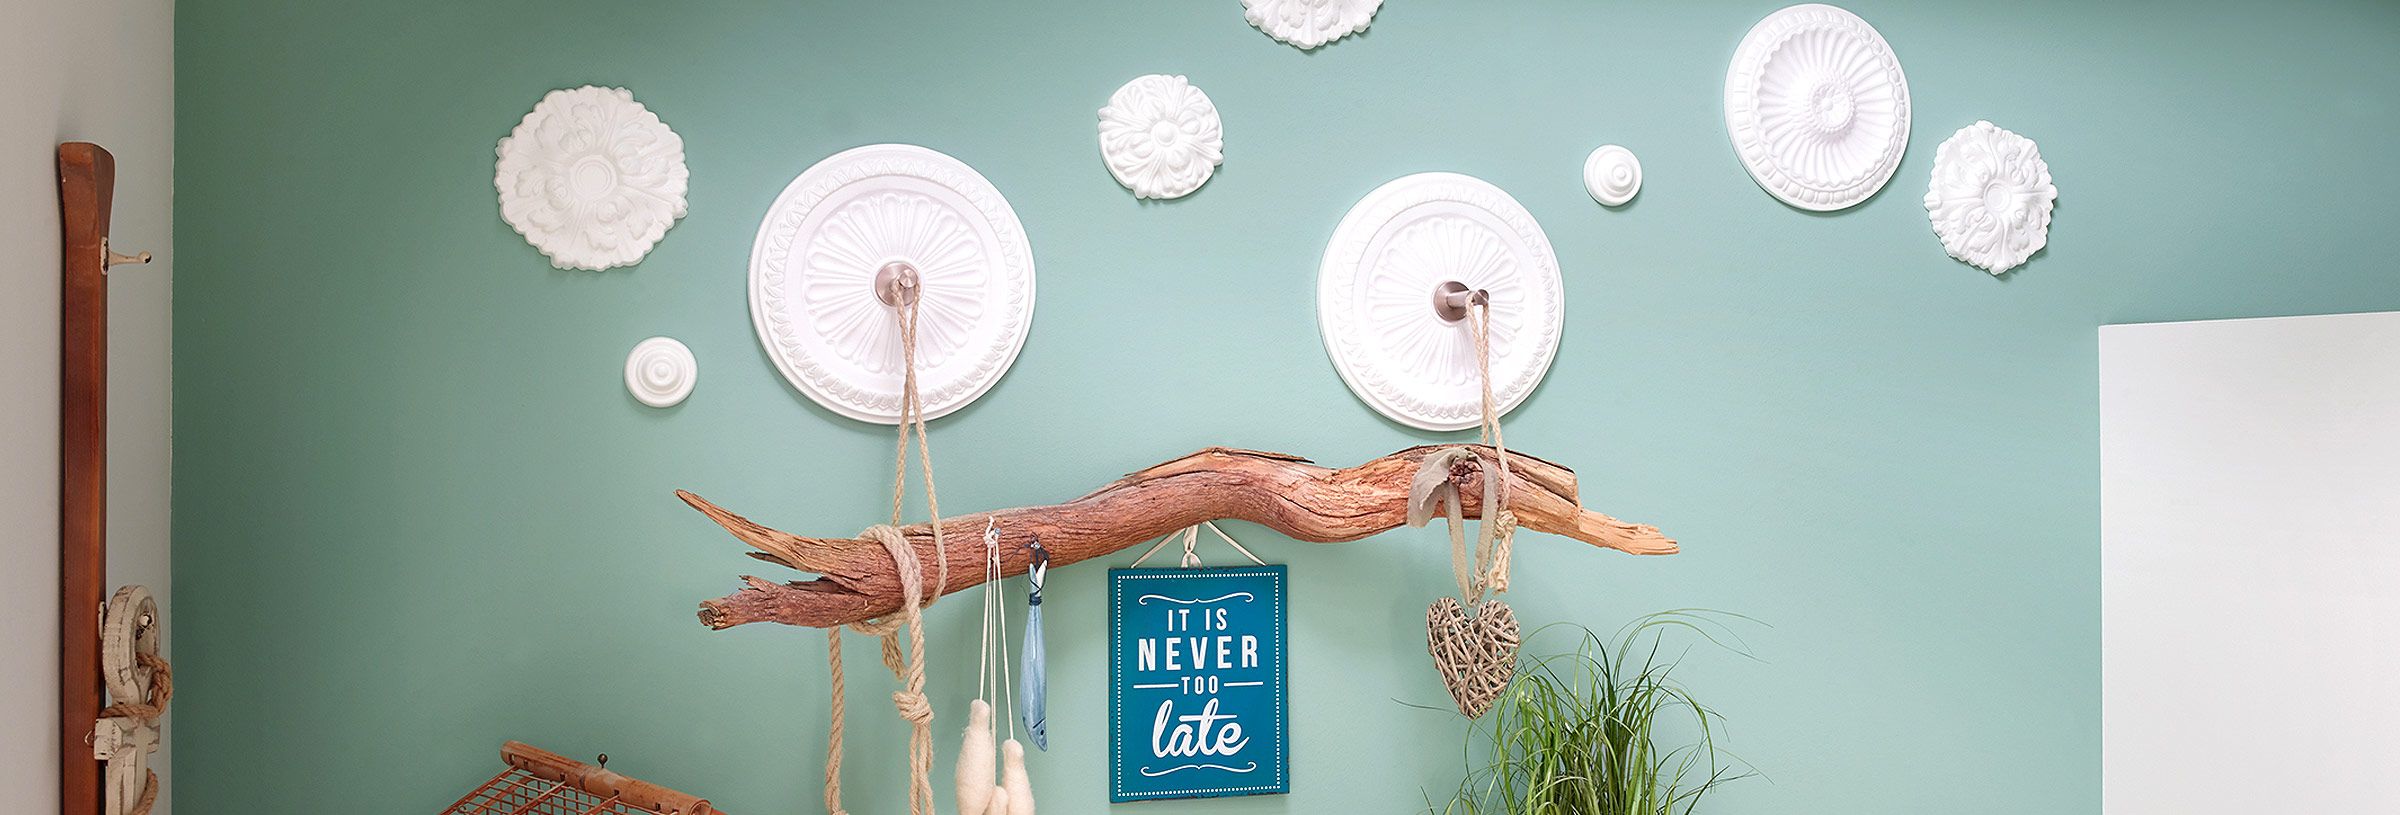
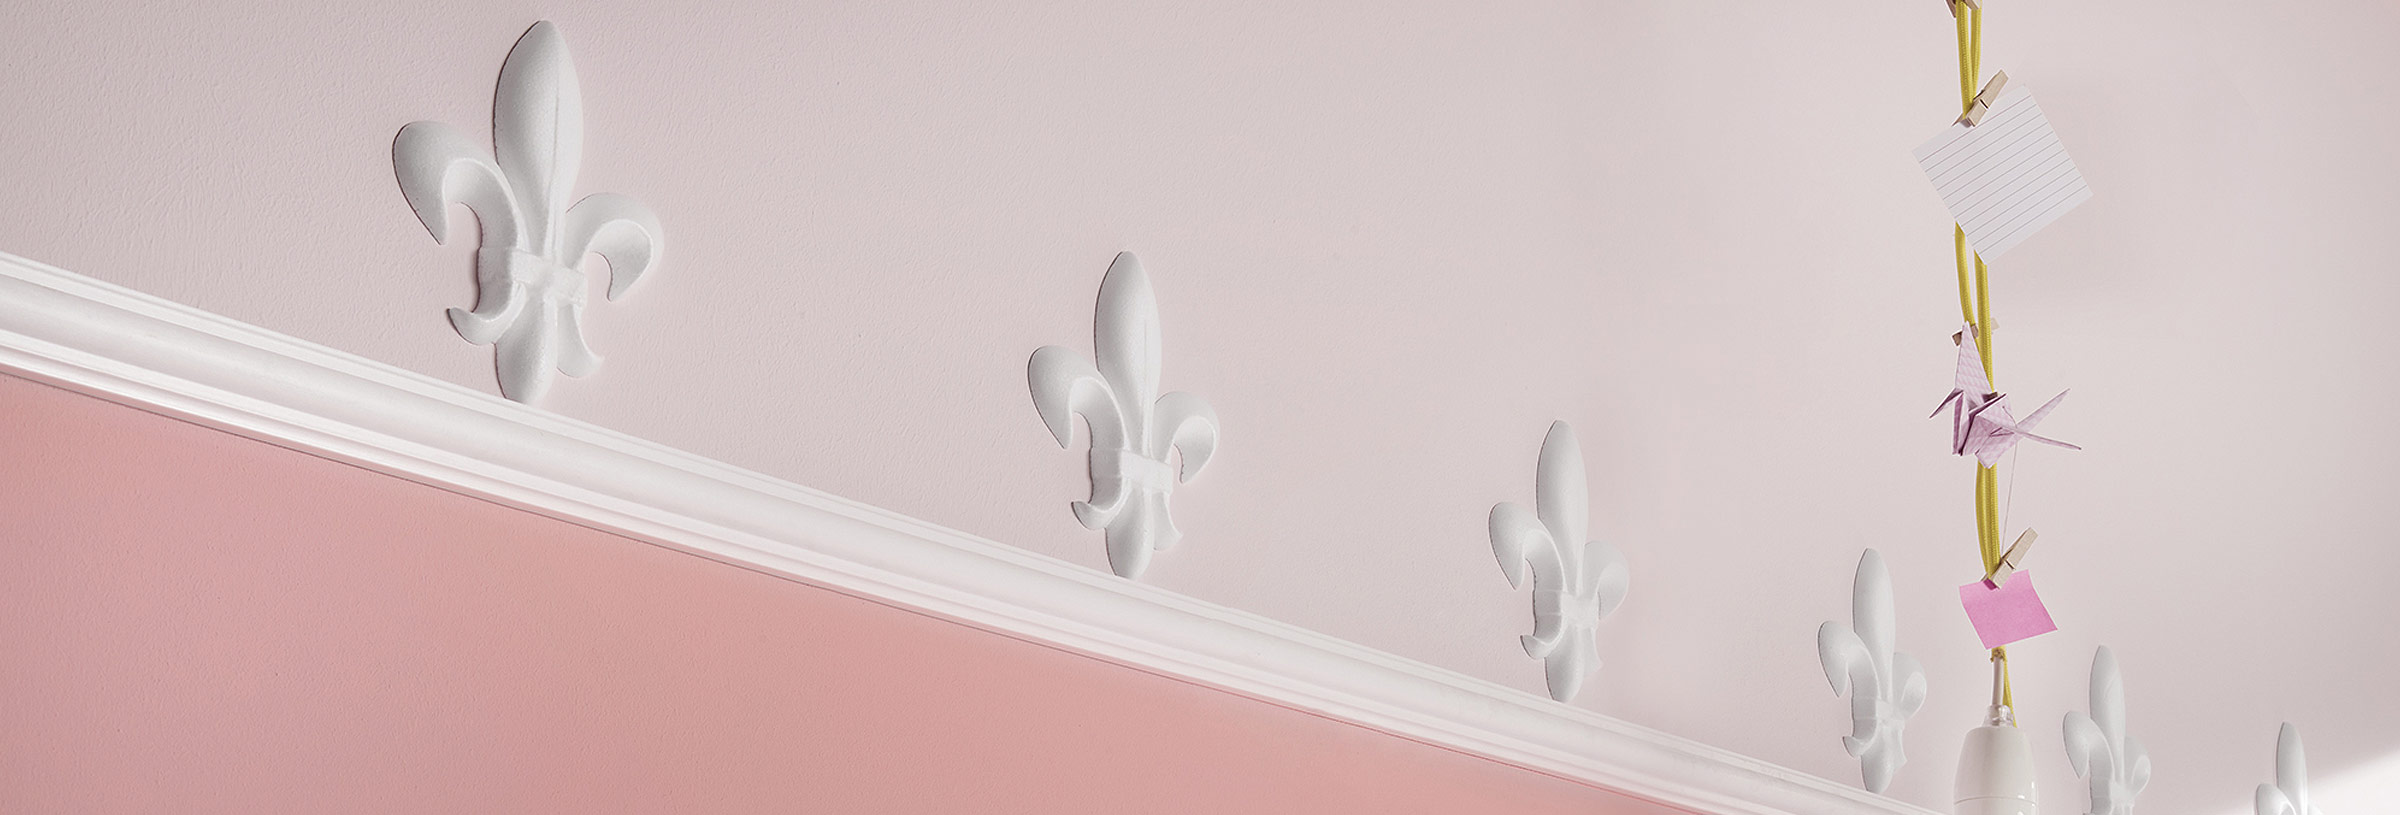
| ROSETTES
The base has to be clean, dry, solid, smooth and able to take a weight. Define position of rosette on ceiling, mark it with a pencil, eventually set a central borehole for light connection. Clean rosette backside and apply DECOSA® universal glue thinly. Excactly position rosette and press firmly against ceiling. Remove potential glue rests with a wet sponge immediately. For painting use solvent-free dispersion colour.
| CEILING TILES
The base has to be clean, dry, solid, smooth and able to take a weight. Before applying the tiles find out the centre of the ceiling by stretching two diagonal lines. Fix the first tile exactly at the centre of the ceiling and add the other tiles edge to edge. For tiles with directional arrow always keep the same direction. For cutting the tile a sharp knife is sufficient. Apply DECOSA® polystyrene glue with a tooth spatula on the backside. Press tiles against ceiling, remove potential glue rests with a wet sponge immediately. For painting use solvent-free dispersion colour.
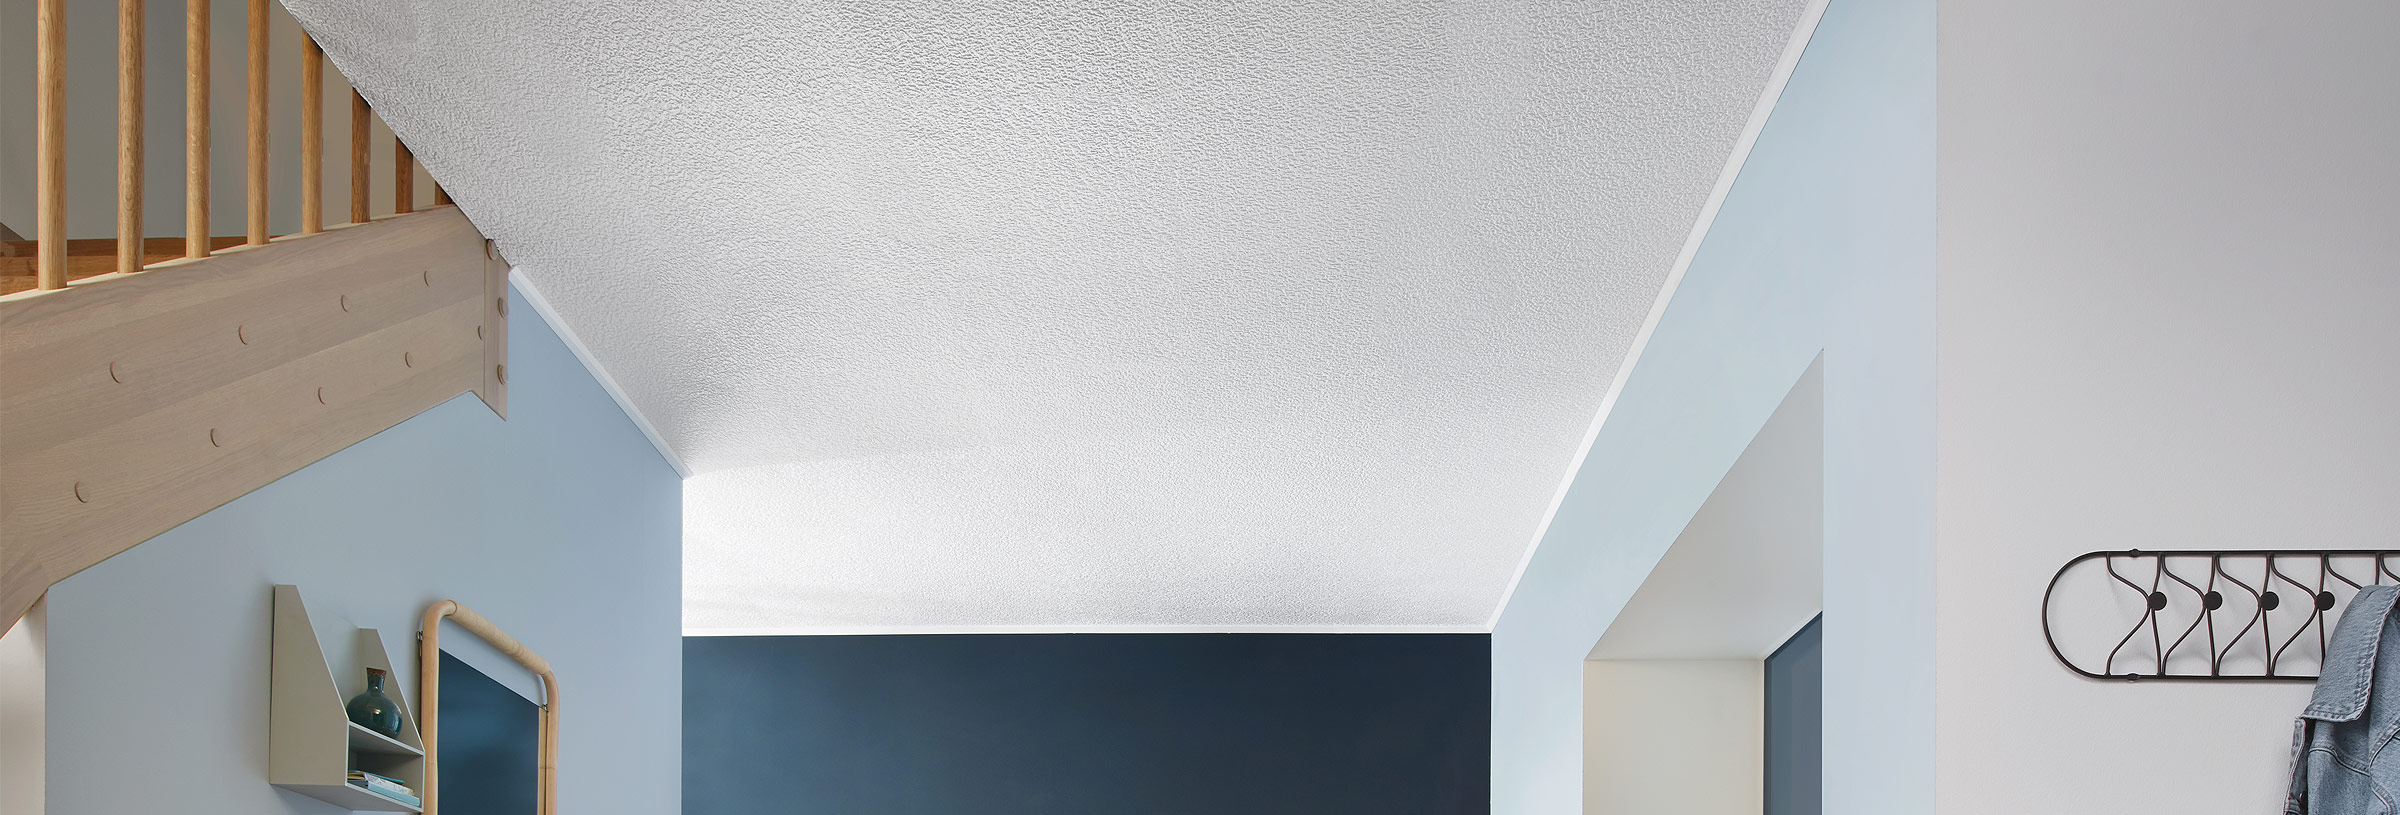
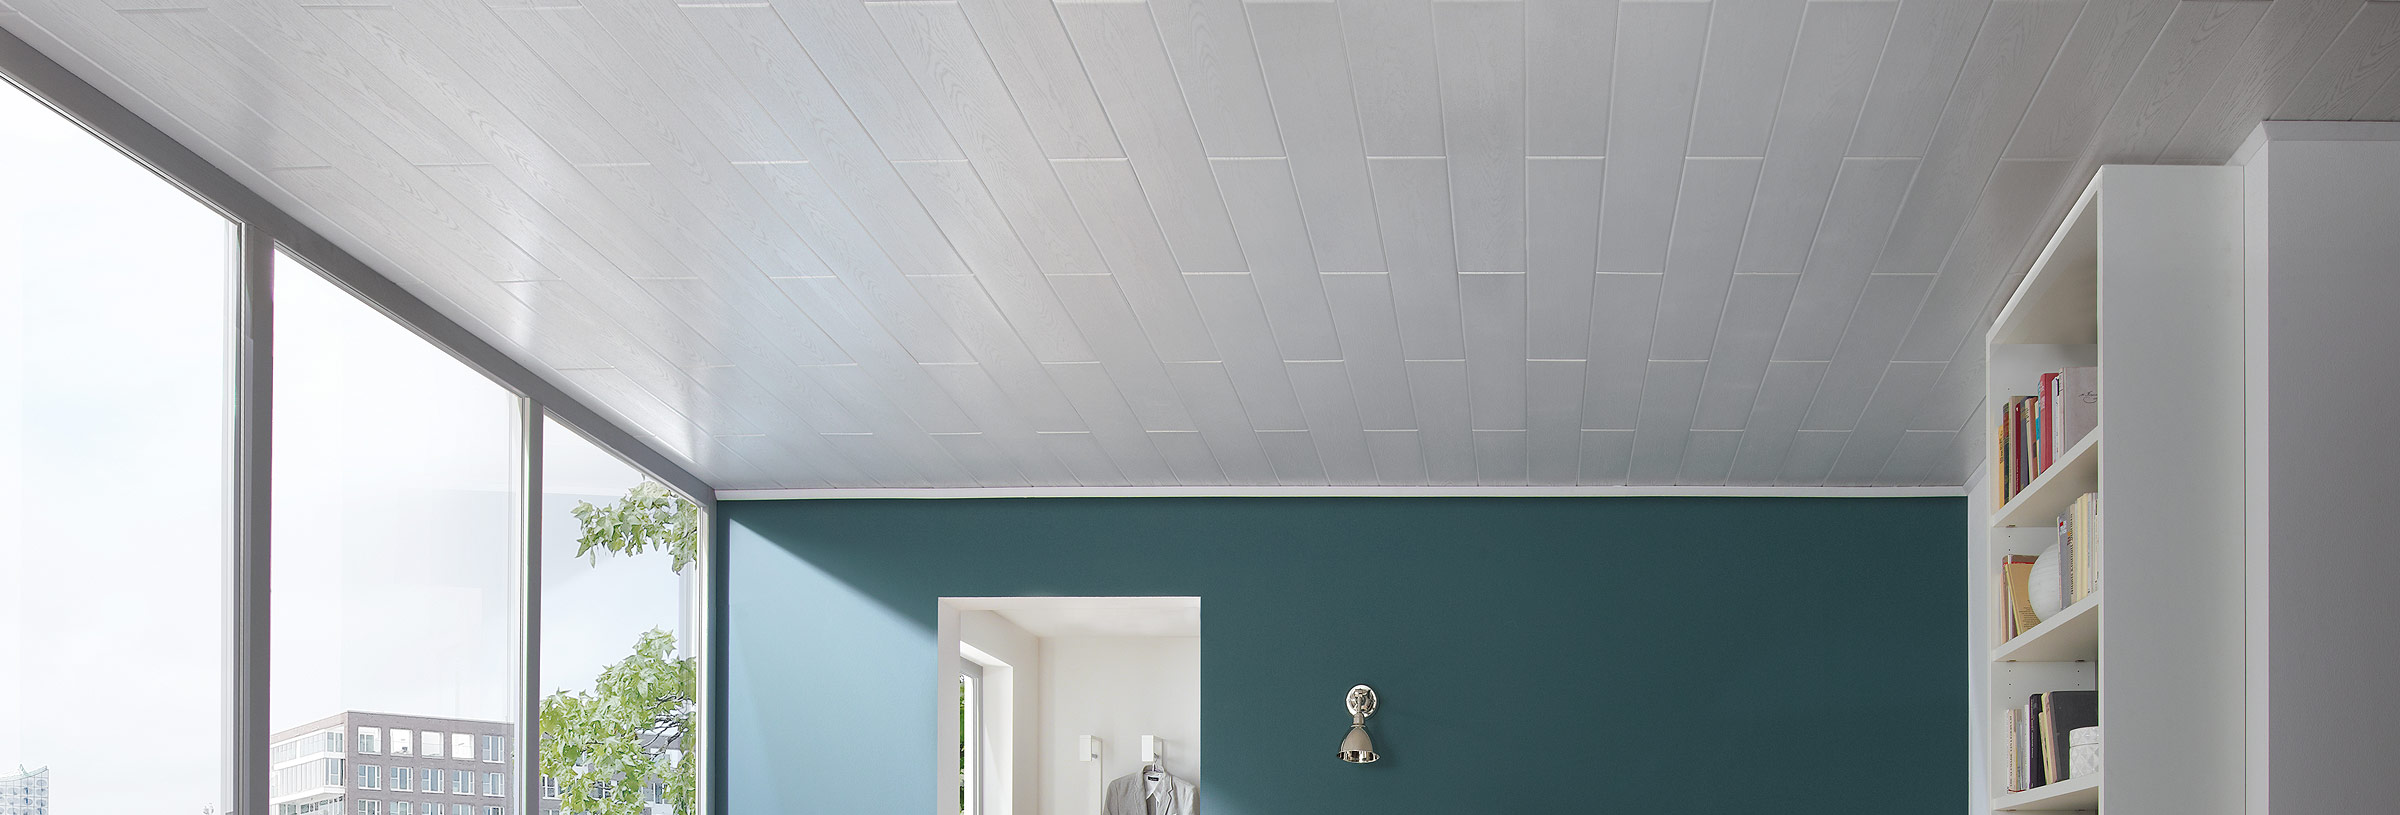
| CEILING PANELS
The base has to be clean, dry, solid, smooth and able to take a weight. Laying can be done without complex substructure referring to a desired pattern. For cutting the panel a sharp knife is sufficient. Apply DECOSA® polystyrene glue with a tooth spatula on the backside. Press the panel against the ceiling and remove coutiously possible remaining glue with a wet sponge immediately. For the clean and harmonious edging between ceiling and wall use matching DECOSA® framings.


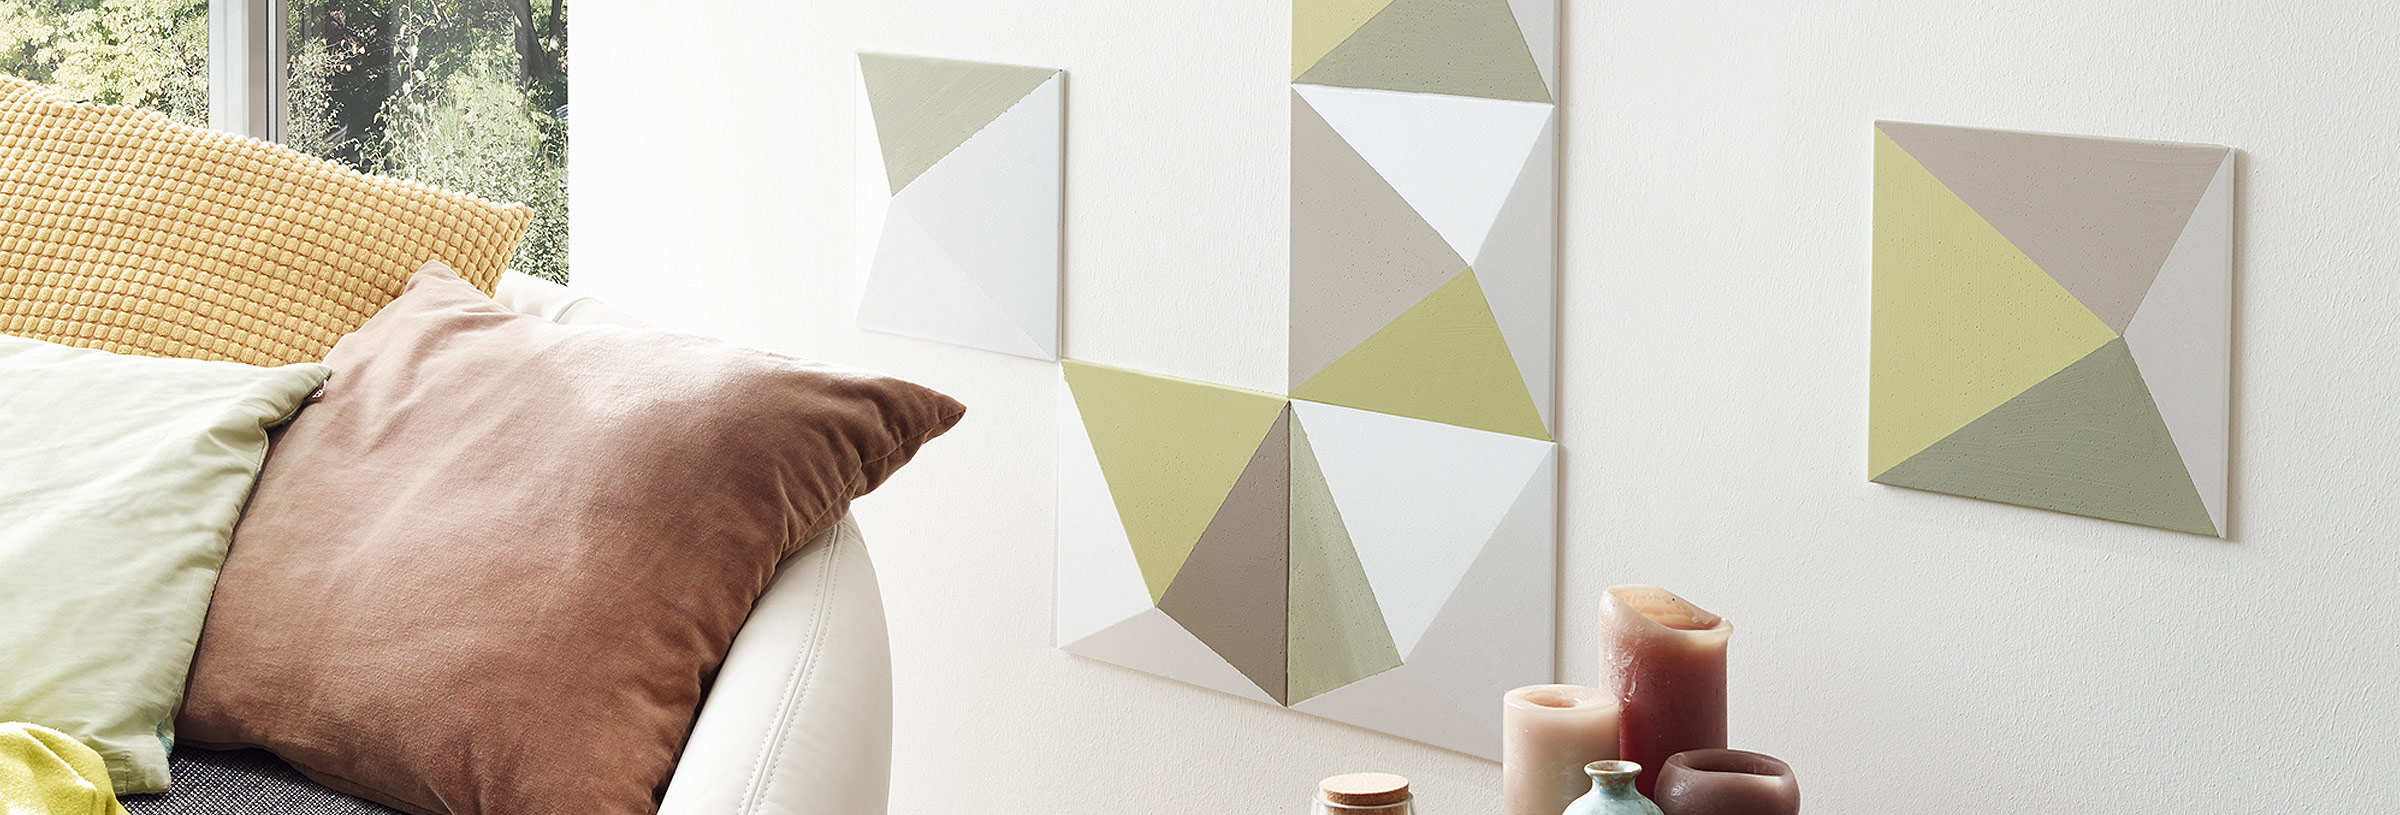
| CREATIVE STONES
The base has to be clean, dry, solid, smooth and able to take a weight. Apply DECOSA® universal glue on the backside of the stone. Join edge to edge and press to the wall in conjuction. Let it dry for about 48 hours. Creative stones can be personalised with solvent-free dispersion paint.
| 3D-WALL TATTOOS
The base has to be clean, dry, solid, smooth and able to take a weight. Apply tesa Powerstrip® on the backside and press wall tattoo against the wall. Decoration element can be removed by a circular motion. 3D-wall tattoo can be personalised with solvent free dispersion paint, acrylic paint or other creative techniques, for example decoupage.
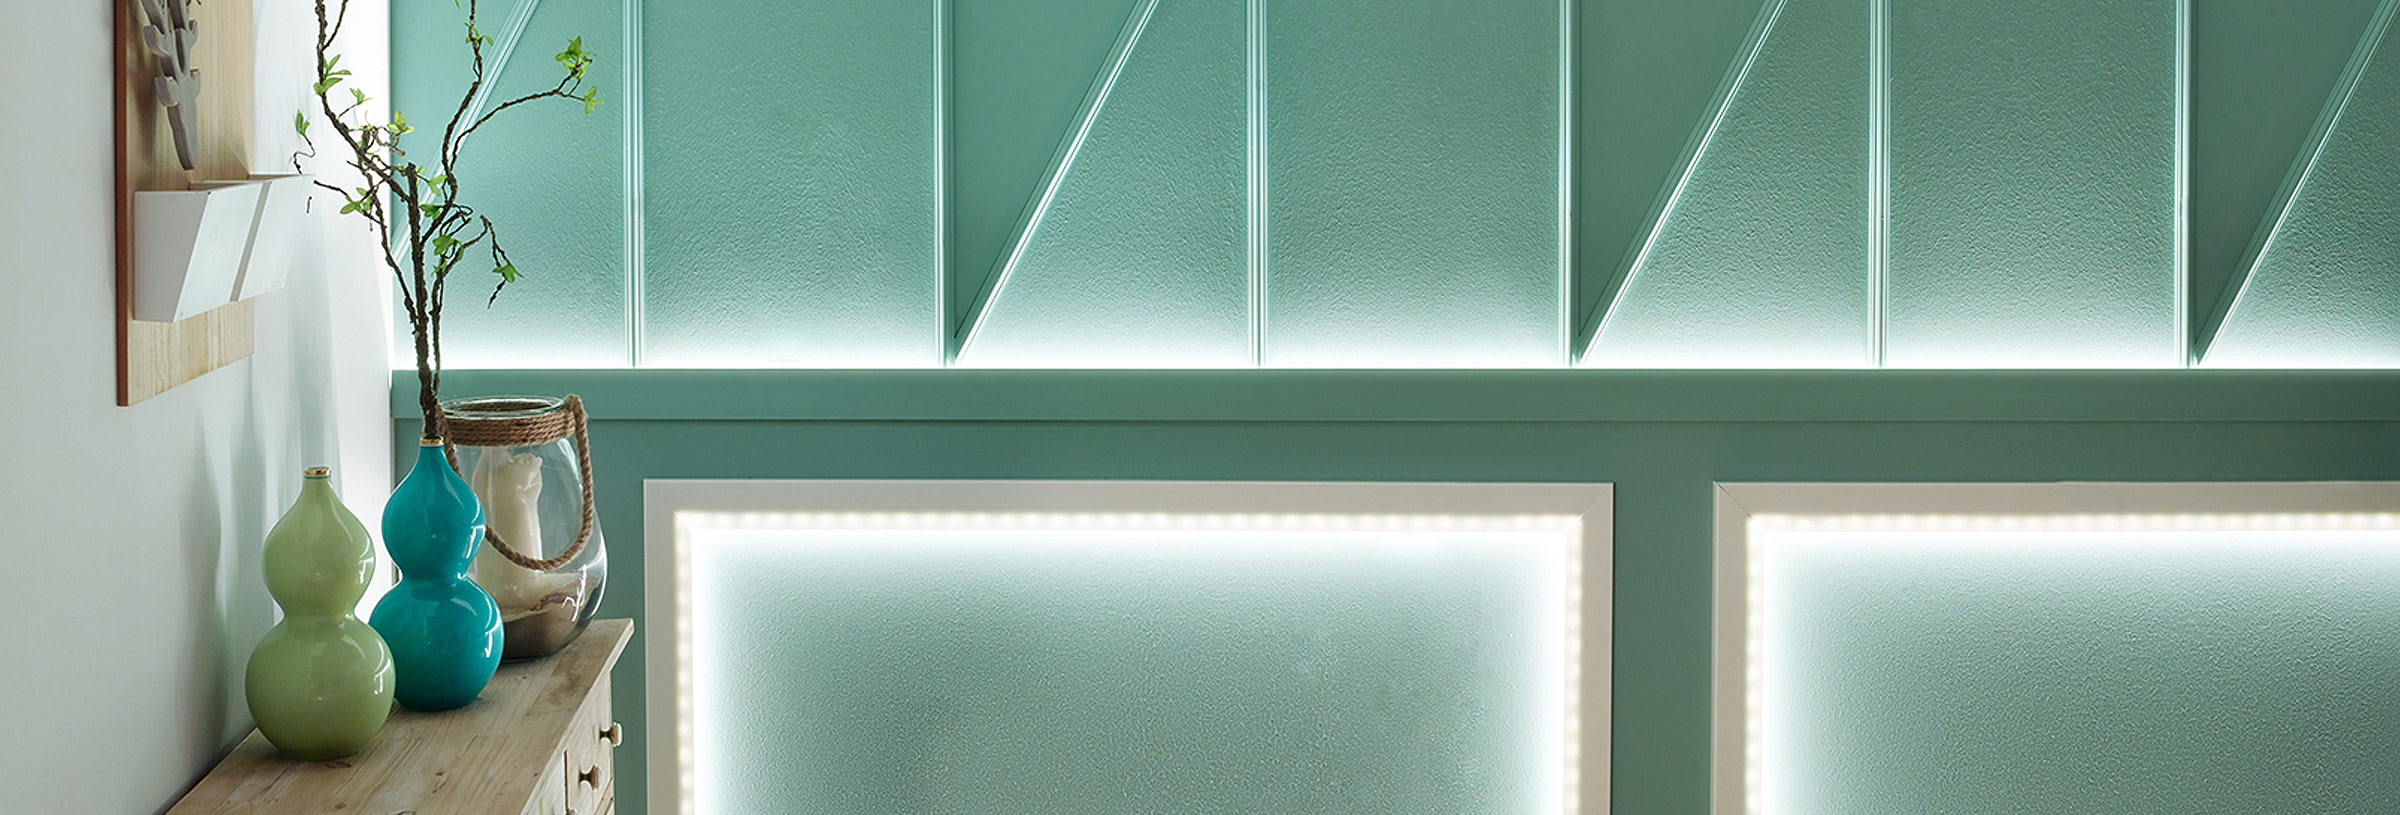
| LIGHT BAR FOR LED-SYSTEMS
The base has to be clean, dry, solid, smooth and able to take a weight. Before applying the mouldings cut them to mitre for the corners with the help of a cutting case and a fine saw. Where later the cable is conducted, some space can be cut out with a sharp knife. Apply a thin coat of DECOSA® universal glue on the backside of the moulding. Press the moulding slightly against wall or ceiling. Remove excess glue immediately with a damp sponge. Fill joints with glue or spackle. Use solvent-free dispersion colour to paint the mouldings. After drying, install LED-Stripe according to manufacturer´s instructions.

| CLIP-ON COVING
The base must be clean, dry, firm, smooth and stable. Before processing cut covings to size with a fine saw. Attach clips with screws on the wall. Position cables and clip the coving on the installed clips. For painting use any paint or other creative techniques. Just take the covings off the installed clips for adding or removing cables.
| BEAMS
The base has to be clean, dry, solid, smooth and able to take a weight. Cut beams with a fine saw. Apply DECOSA® universal glue on beam-backside. Set position, press beam firmly against wall/ceiling and support for 24 - 48 hours. Remove excess glue rests with a wet sponge immediately. Finally apply corbels. Joints can be covered with fittings, spackle and stain.


